Table of Contents
Deploying a smart classroom is no longer just about installing a few devices; it’s about creating a cohesive environment where teaching, learning, and technology integrate seamlessly. A well-planned smart classroom setup improves student engagement, supports hybrid learning, and ensures teachers can operate the systems confidently. Early planning also mitigates budget overruns and minimizes classroom downtime during installation.
A checklist approach helps administrators and IT teams visualize every step, from space planning to post-deployment maintenance, ensuring a reliable and future-proof installation.
Planning Phase

Define Classroom Objectives
The first step in any deployment is to clarify the educational goals. Decide whether the classroom will primarily serve traditional in-person teaching, hybrid lessons with remote students, or fully online sessions. These objectives directly influence hardware requirements, such as the number and type of microphones, displays, and cameras.
Before smart classroom setup, we should consider student capacity, lesson types, and teaching styles. For example, collaborative group work may require multiple displays or strategically placed microphones, while lecture-focused classrooms might prioritize a single large interactive display with clear audio coverage.
Budgeting and Procurement
Budgeting is more than just adding up hardware costs in smart classroom setup. A comprehensive plan accounts for AV systems, networking infrastructure, power management, and future upgrades. Prioritize high-impact devices that directly influence teaching quality, such as interactive displays and reliable audio systems, while considering modular upgrades for flexibility.
It’s advisable to coordinate procurement so that all components—displays, projectors, speakers, network devices—are compatible and scalable. This prevents costly mismatches later and simplifies maintenance.
Space and Layout Considerations
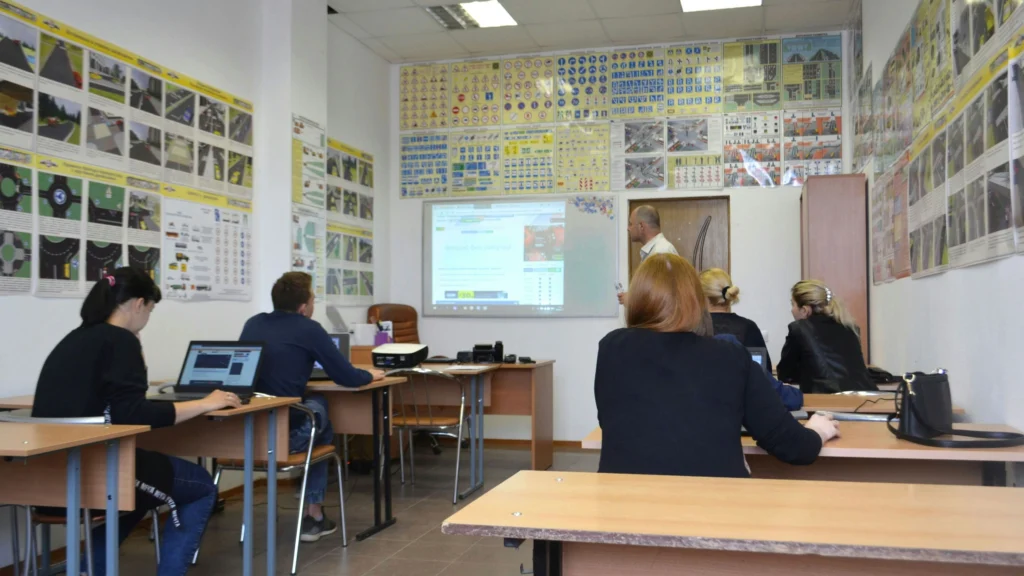
The physical layout of the classroom strongly affects how technology is used in the smart classroom setup phase. Proper seating arrangements ensure visibility of displays, clear audio coverage, and unobstructed camera angles for hybrid setups. Consider ceiling height, wall space for displays, and lighting conditions, as these will influence both display visibility and projector performance.
Even small adjustments in layout can dramatically improve student engagement and reduce teacher frustration. Early involvement of educators in planning helps tailor the space to actual classroom needs.
Hardware Selection
Interactive Displays
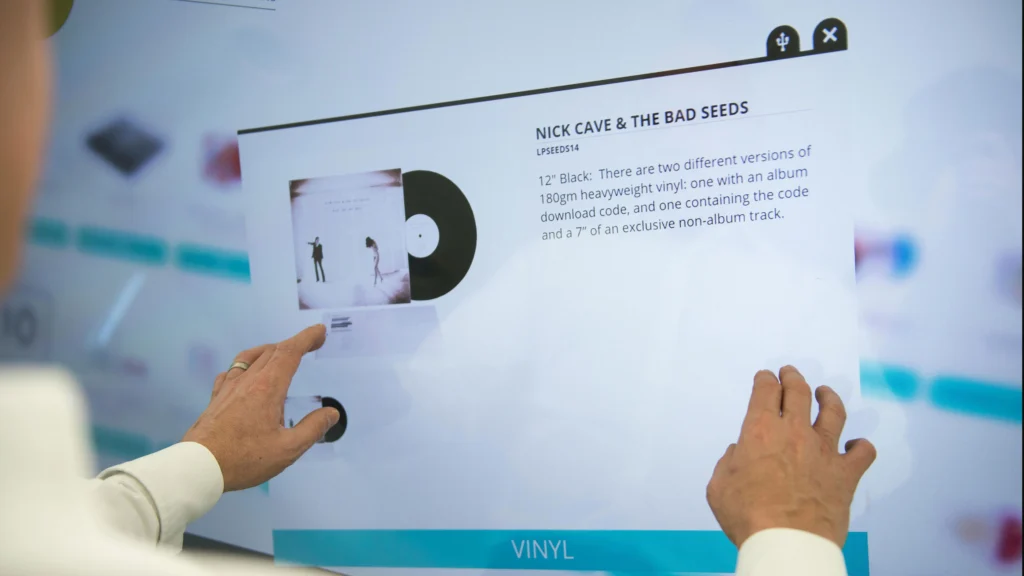
Selecting the right interactive display is central to a smart classroom. The screen size should match classroom dimensions, ensuring visibility from the back row while maintaining clarity for annotations and multimedia. Consider touchscreen responsiveness, multi-user capabilities, and embedded computing options such as OPS modules or built-in Android. These features determine how well the display integrates with other classroom systems, including lecture capture and hybrid learning setups.
Interactive Display Size Recommendations
| Display Size | Recommended Room Size | OPS Support | Connectivity Features |
|---|---|---|---|
| 65” | 15–25 m² | Built-in Android or Mid-range OPS | HDMI, USB, LAN, Wireless Casting |
| 75” | 25–40 m² | Mid to High-end OPS | HDMI, USB, LAN, Wireless Casting, Bluetooth |
| 86” | 40–70 m² | High-end OPS | HDMI, USB, LAN, Wireless Casting, Bluetooth, Audio Output |
Audio Systems: Microphones and Speakers
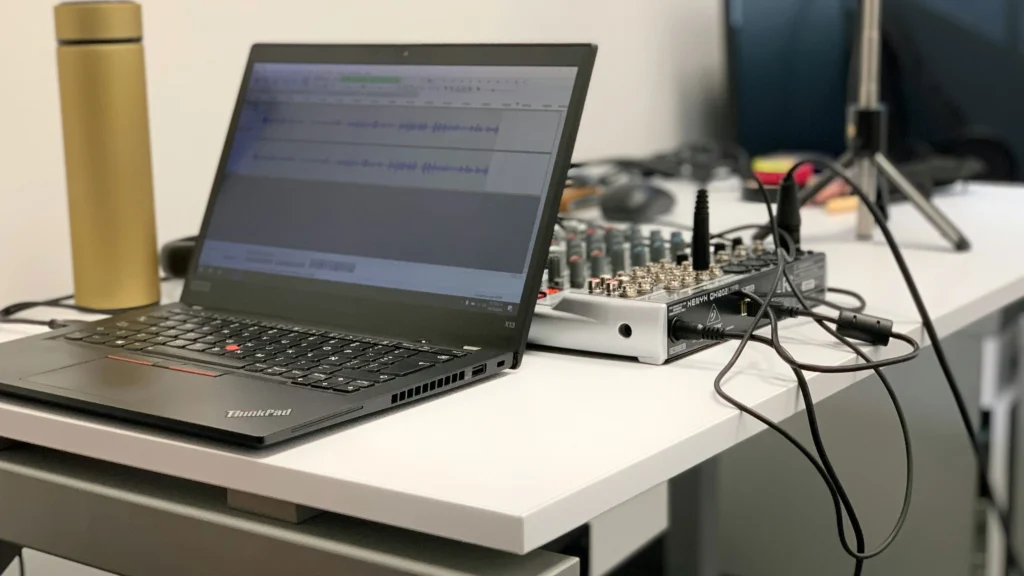
Audio quality is critical for both in-person and hybrid teaching for smart classroom setup. Choose microphones that suit room size and teaching style: ceiling arrays for large spaces, desktop mics for smaller classrooms, or lavalier options for mobility. Speaker placement should ensure even sound distribution, avoiding dead zones and feedback. Consider the integration of DSP (digital signal processing) for echo cancellation and consistent volume levels.
Classroom Microphone Types and Placement
| Microphone Type | Ideal Coverage Area | Recommended Placement |
|---|---|---|
| Lavalier (Clip-on) | Individual teacher | Around chest height, facing students |
| Ceiling Array | 30–70 m² | Centered above teaching area, avoid direct lights |
| Desktop/Boundary | Small groups | Near table edge, angled towards participants |
| Beamforming | Medium to large | Ceiling or podium, aimed at speaking zones |
Projectors and Projection Systems

Even in classrooms with interactive displays, projectors may be necessary for multi-purpose rooms or collaborative group presentations. Short-throw projectors minimize glare and shadows, while standard projectors suit larger rooms. When choosing, consider lumen output, throw ratio, and integration with the AV system to ensure consistent brightness and image quality across the smart classroom setup.
Digital Podiums
Digital podiums centralize control for displays, projectors, and audio systems, streamlining teacher interaction with technology. When selecting a podium, look for models that support content annotation, multiple device connections, and intuitive interface design. Compatibility with interactive displays and AV infrastructure is essential to avoid conflicts during hybrid lessons.
Network and Infrastructure Considerations
Reliable networking underpins all smart classroom setup technology. Select switches, access points, and cabling that support high-bandwidth streaming, lecture capture, and simultaneous device connections. Plan for redundancy and future upgrades to avoid performance bottlenecks. Structured cabling and proper power distribution prevent downtime and signal interference, ensuring smooth daily operation.
Installation & Configuration
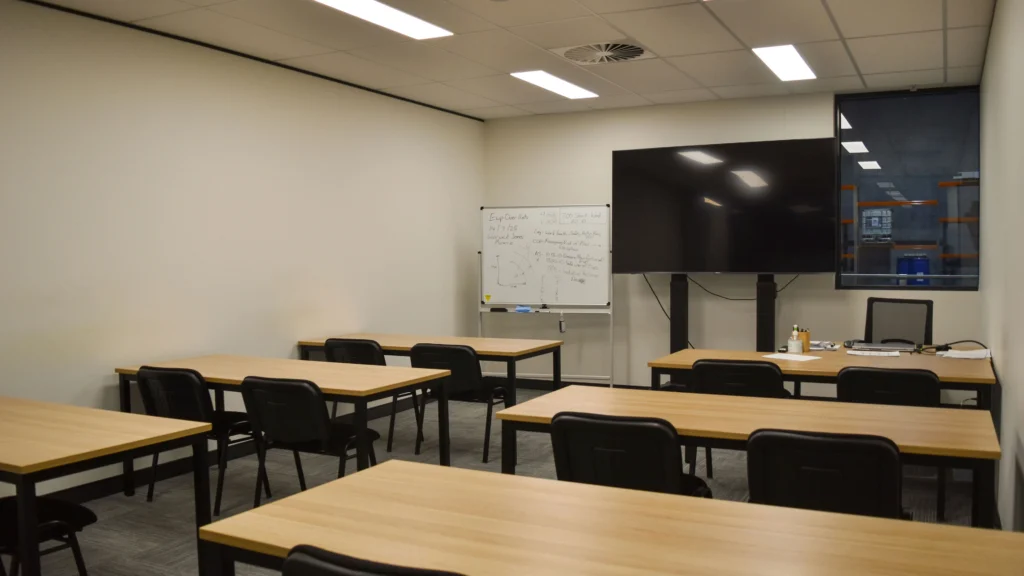
Planning the Layout
A successful smart classroom setup begins with careful spatial planning. Consider the classroom’s size, seating arrangement, and sightlines to ensure every student can clearly see the smart classroom componenets such as interactive display and hear audio outputs. The placement of displays, speakers, microphones, and podiums should align with the intended teaching style, whether lecture-focused, group-based, or hybrid. Poor planning can result in glare, uneven audio, or obstructed views, which undermines the technology’s effectiveness.
Interactive Displays and Projectors
Positioning interactive displays requires precision: the screen should be at eye level for the majority of students, avoiding excessive height that causes neck strain. For classrooms using projectors, the throw distance and angle must be calculated to prevent keystone distortion and ensure uniform brightness. Short-throw projectors can mitigate space constraints, but proper calibration remains critical.
Interactive Display vs Projector
Projector Placement and Screen Size Guidelines
| Classroom Size | Recommended Screen Size | Optimal Distance from Screen | Projection Angle |
|---|---|---|---|
| Small (15–25 m²) | 65”–75” | 2–3 meters | 15°–20° downward tilt |
| Medium (25–40 m²) | 75”–86” | 3–5 meters | 10°–15° downward tilt |
| Large (40–70 m²) | 86” | 5–7 meters | 5°–10° downward tilt |
Audio and Podium Configuration
Speakers and microphones are the backbone of a functional smart classroom setup. Install speakers to provide even coverage without hotspots, and place microphones to capture speech clearly while minimizing feedback. Podiums should be integrated with AV systems, allowing instructors to control the display, audio, and recording simultaneously. In hybrid classrooms, careful cabling and connectivity ensure smooth lecture capture and video conferencing.
Network & Power Setup
Smart classroom set relies heavily on stable network and power infrastructure. Plan sufficient network ports for displays, podiums, and student devices. Avoid daisy-chaining power strips; instead, provide dedicated circuits and surge protection to safeguard sensitive electronics. Labeling and routing cables neatly not only improves maintenance but also minimizes downtime.
Testing and Calibration
After smart classroom setup installation, test all systems in real teaching scenarios. Check display responsiveness, projector alignment, audio coverage, microphone clarity, and network stability. Calibrate touchscreens and projector keystones, and adjust audio equalization to suit the room’s acoustics. A thorough pre-launch evaluation prevents frequent troubleshooting during classes.
Maintenance and Routine Checks
A smart classroom setup is only effective if maintained regularly. Schedule periodic firmware updates for displays, audio systems, and podiums. Inspect cabling for wear, clean screens, and verify that network equipment is performing optimally. Training staff to perform basic maintenance reduces downtime and prolongs equipment life.
Common Mistakes and Troubleshooting Tips

Overlooking Spatial Planning
One of the most frequent mistakes in smart classroom setup is inadequate spatial planning. Displays may be mounted too high, projectors misaligned, or speakers poorly positioned. This leads to obstructed views, uneven audio coverage, and student frustration. Proper pre-installation planning, ideally with scaled room diagrams, can prevent these issues.
Ignoring Network and Power Requirements
Many smart classroom setup fail to account for the cumulative load of multiple devices on a single network or power circuit. This can cause intermittent connectivity, projector flickering, or sudden system shutdowns. Ensuring separate power circuits, surge protection, and adequate network bandwidth is crucial.
Poor Calibration and Testing
Even after smart classroom setup installation, improperly calibrated displays, projectors, or audio systems can severely affect teaching quality. Misaligned projectors, unresponsive touchscreens, and microphones picking up feedback are common. Pre-launch testing in real classroom conditions is essential, followed by periodic recalibration.
Insufficient Teacher Training
A technically perfect smart classroom setup can fail if instructors are not trained to use the systems. Teachers often underutilize features like annotation tools, podium controls, or hybrid classroom streaming. Providing structured training sessions and quick-reference guides ensures the technology enhances learning rather than causing frustration.
Teacher Training Mistakes and Solutions
Neglecting Routine Maintenance
Smart classroom set is a complex ecosystems that require regular checks. Dust, loose cables, firmware updates, and wear on devices can degrade performance. Scheduled maintenance and assigning staff for basic inspections can dramatically reduce downtime and prevent minor issues from escalating.
Troubleshooting Common Issues
When problems arise, systematically isolating the source is key. Audio feedback often comes from microphone placement or speaker alignment; display lag may indicate OPS or network issues; projector brightness issues are frequently due to lamp degradation or environmental light. Keeping a troubleshooting log helps identify patterns and reduces time spent resolving recurring problems.